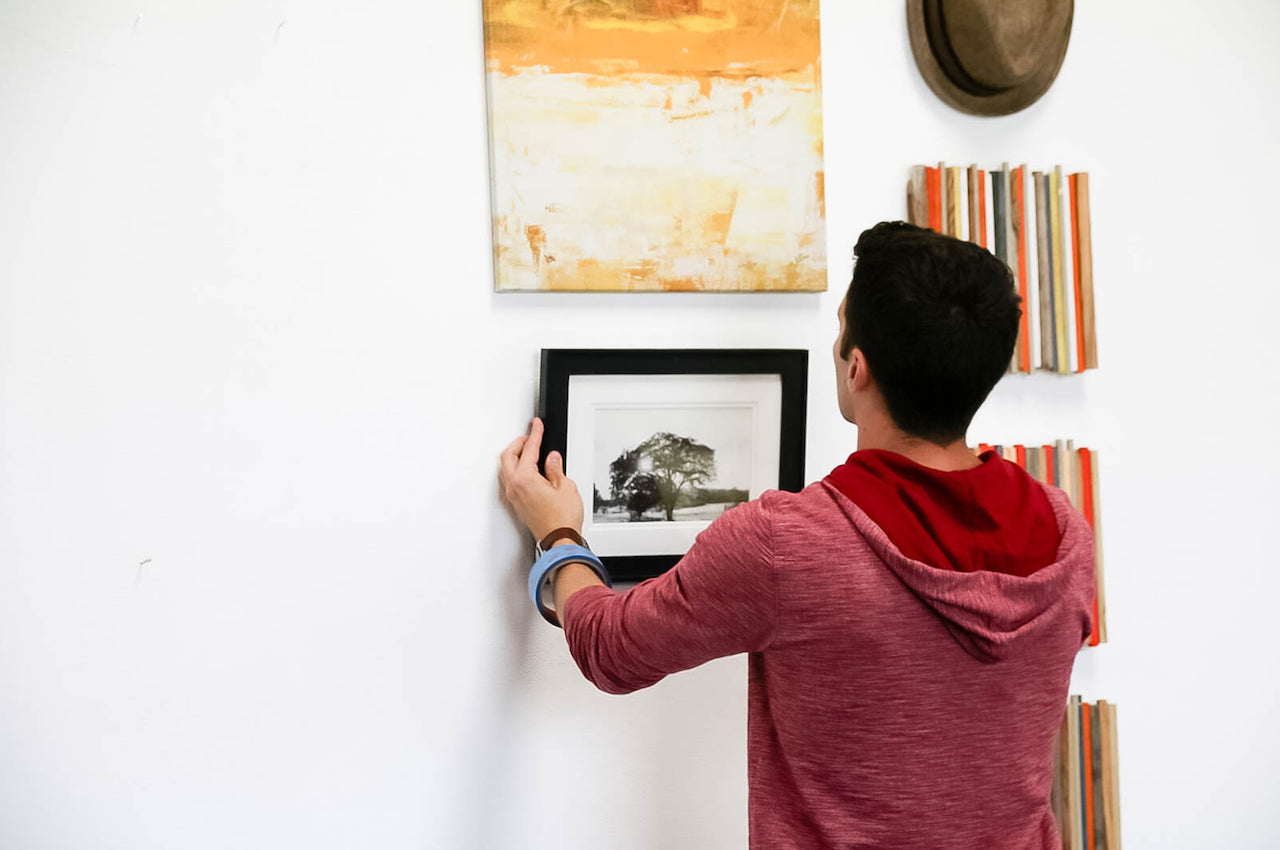
Watch as our resident Apt2B designer, Kyle Schuneman, takes a collection of Apt2B artwork and decor pieces and transforms them into a gorgeous gallery wall! This is one #2BHack that you won’t want to miss.
- Apt2B How To Make A Gallery Wall With Kyle Schuneman #MakeItHome
- Apt2B How To Make A Gallery Wall With Kyle Schuneman #MakeItHome
- Apt2B How To Make A Gallery Wall With Kyle Schuneman #MakeItHome
- Apt2B How To Make A Gallery Wall With Kyle Schuneman #MakeItHome
Every home has one wall that seems like it’s impossible to decorate. No matter what you do you can’t quite seem to nail the look you’re aiming to achieve. Painting the wall didn’t work. Hanging a piece of artwork didn’t do the trick. But don’t give up hope yet! In this case sometimes more is more. That’s where the gallery wall comes in. A gallery wall allows you to combine different ideas, styles, and aesthetics to produce one cohesive design. It creates interest, draws the eye, and will give your guests something to truly admire. Designing a gallery wall will also give you an opportunity to flex your creative muscles.
A gallery wall allows you to combine different ideas, styles, and aesthetics to produce one cohesive design. It creates interest, draws the eye, and will give your guests something to truly admire. Designing a gallery wall will also give you an opportunity to flex your creative muscles.
Tools You’ll Need For This Project
- Craft Paper
- Gaffer’s Tape
- Hammer
- Nails
- Chalk
- A collection of your favorite Apt2B artwork and decor!
Step 1: Unroll Your Craft Paper
Start by setting aside a space on your floor that’s as big as the space on the wall that you’re decorating. Then spread your craft paper on the floor. You’ll want to match the amount of craft paper to the amount of space on your future gallery wall. If you have a tall wall then you might need to tape two sheets of your craft paper together using the gaffer’s tape. The idea is that you’ll be outlining your gallery wall on the craft paper before you hammer any permanent holes in your wall!
Step 2: Design Your Gallery Wall
Now is the fun part! Gather all of the art and decorative objects you’ll be hanging on your gallery wall and lay them out on the craft paper. Arrange them in a way that you find visually-pleasing. Kyle recommends varying each column or row with different shapes, scales, or colors. If you have a column with three smaller objects then it’s smart to make your next row feature one larger object. Adding variety to each column or row will balance the gallery and create a necessary amount of visual contrast. While it’s a good idea to vary each section, try to keep the space between each object the same. Play around with this step until you’re happy with the layout!
Step 3: Outline Your Shapes
Once you’ve locked in your final gallery wall setup it’s time to outline your decorative objects with chalk! Use your chalk to trace an outline of each and every decorative object on the craft paper. It’s likely that your shapes will be mostly simple shapes like circles and squares – nothing too crazy like a Hand Turkey. Outline every shape with the chalk and then remove your decorative objects from the craft paper. Now you have the rough draft of your gallery wall!
Step 4: Hang and Hammer
The next step is to use your gaffer’s tape or painter’s tape to hang the craft paper on your future gallery wall. You’ll now have a perfect outline for actually hanging your decorative objects. Take your hammer and nails and use the traced outline of your shapes to determine where to hammer into your wall. Add a nail for each shape. Now rip the craft paper off your wall!
Step 5: Add Your Artwork & Decorative Objects
The final step is to hang all of your artwork and decorative objects on the nails. Then take a step back and admire your brand new gallery wall!
Extra Tip: Add Artwork Labels
Really want to put the “gallery” in gallery wall? Add fun artwork labels to your pieces! Provide the artist’s name, the name of the print, and a brief description of the art. Your guests will get a kick out of it and it’s sure to start some good conversations.
Want even more #2BHacks and DIY”s? Check out some of these other projects by Kyle Schuneman!
DIY Chalkboard Racing Stripe Chair | #MakeItHome
How to Use Wallpaper To Give Your Furniture A Funky Fresh Look | #2BHack
